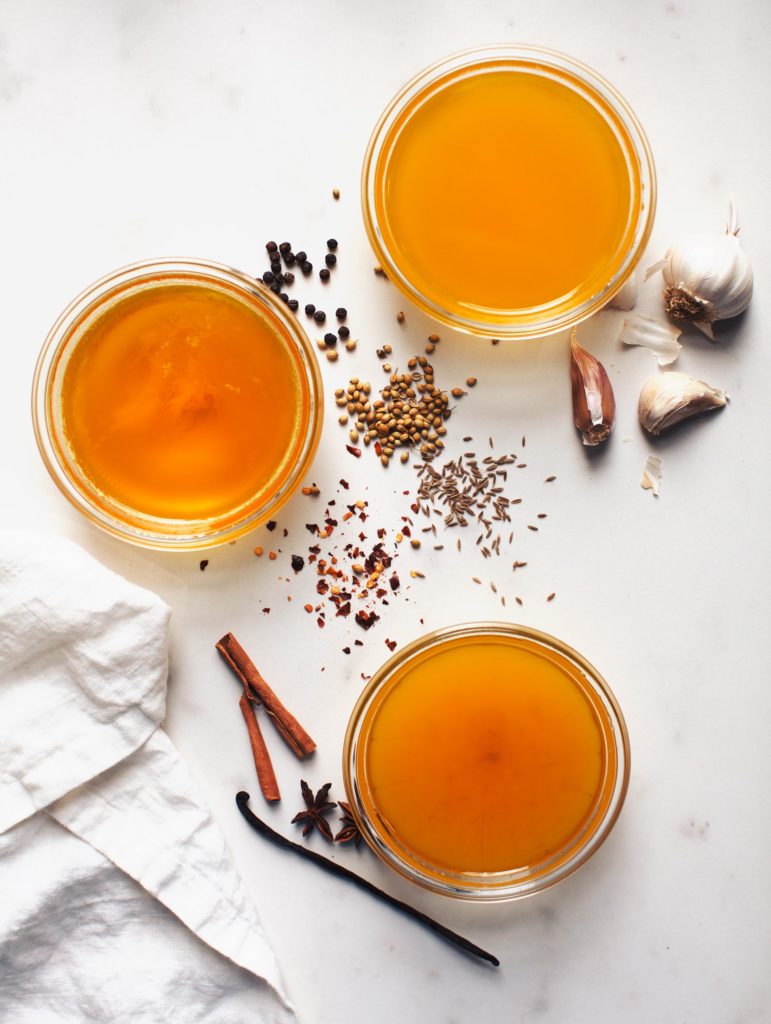
These are only three of the endless possibilities for spicing up your ghee! Sweet, savoury, spicy, and beyond… the pot’s the limit. For how to make basic ghee (and to see how simple it is!) watch my tutorial and then you are set up to make all your ghee dreams come true!
Curry Ghee
Ingredients
- 250 g unsalted butter organic if possible
- ½ tsp. cumin seeds
- ½ tsp. yellow mustard seeds
- ¼ tsp. coriander seeds
- ¼ tsp. crushed chilli flakes
- ¼ tsp. black peppercorns
- ¼ tsp. ground turmeric
- ⅛ tsp. ground cardamom or 2 pods crushed
Directions
- Heat the unsalted butter in a heavy-duty saucepan over low-medium heat without a lid until it’s melted. Add the spices. Let simmer gently until the foam rises to the top of the melted butter. The butter will make lots of spluttering sounds and perhaps splatter a bit, so be careful.
- Over the next 20-30 minutes (depending on the water content of your butter), watch the butter carefully as 3 layers develop: a foamy top layer, a liquid butterfat layer, a milk solids bottom layer. You can remove the foamy top layer with a spoon if you like, which helps to see trough to the bottom, but this is optional – it will be strained out in the end anyway.
- Once the butter stops spluttering, and no more foam seems to be rising to the surface, check to see if the bottom layer has turned a golden brown colour. The ghee is ready and must be removed from the heat immediately or it will burn.
- Set a few layers of cheesecloth or gauze over a heatproof container, such a canning jar. Carefully pour the warm liquid butter through the cheesecloth into the container, leaving behind the spices and any other solids from the bottom of the pan. Let the ghee sit at room temperature to cool and solidify before placing an air-tight lid on the container. Store in the fridge for 1 year or, out of the fridge for 2-3 months.
Garlic Ghee
Ingredients
- 250 g unsalted butter organic if possible
- 4 fat cloves garlic
Directions
- Peel the garlic and roughly chop or slice.
- Heat the unsalted butter in a heavy-duty saucepan over low-medium heat without a lid until it’s melted. Add the garlic. Let simmer gently until the foam rises to the top of the melted butter. The butter will make lots of spluttering sounds and perhaps splatter a bit, so be careful.
- Over the next 20-30 minutes (depending on the water content of your butter), watch the butter carefully as 3 layers develop: a foamy top layer, a liquid butterfat layer, a milk solids bottom layer. You can remove the foamy top layer with a spoon if you like, which helps to see trough to the bottom, but this is optional – it will be strained out in the end anyway.
- Once the butter stops spluttering, and no more foam seems to be rising to the surface, check to see if the bottom layer has turned a golden brown colour. The ghee is ready and must be removed from the heat immediately or it will burn.
- Set a few layers of cheesecloth or gauze over a heatproof container, such a canning jar. Carefully pour the warm liquid butter through the cheesecloth into the container, leaving behind the garlic and any other solids from the bottom of the pan. Let the ghee sit at room temperature to cool and solidify before placing an air-tight lid on the container. Store in the fridge for 1 year or, out of the fridge for 2-3 months. Sprinkle some salt on those garlic chunks and eat up – they’re incredibly delicious 😉
Vanilla Chai Ghee
Ingredients
- 250 g unsalted butter organic if possible
- 1 vanilla bean split lengthwise
- 1 star anise
- 1 small cinnamon stick
- ¼ tsp. ground ginger
- ⅛ tsp. ground cardamom or 2 pods crushed
Directions
- Heat the unsalted butter in a heavy-duty saucepan over low-medium heat without a lid until it’s melted. Add the vanilla bean and spices. Let simmer gently until the foam rises to the top of the melted butter. The butter will make lots of spluttering sounds and perhaps splatter a bit, so be careful.
- Over the next 20-30 minutes (depending on the water content of your butter), watch the butter carefully as 3 layers develop: a foamy top layer, a liquid butterfat layer, a milk solids bottom layer. You can remove the foamy top layer with a spoon if you like, which helps to see trough to the bottom, but this is optional – it will be strained out in the end anyway.
- Once the butter stops spluttering, and no more foam seems to be rising to the surface, check to see if the bottom layer has turned a golden brown colour. The ghee is ready and must be removed from the heat immediately or it will burn.
- Set a few layers of cheesecloth or gauze over a heatproof container, such a canning jar. Carefully pour the warm liquid butter through the cheesecloth into the container, leaving behind the spices and any other solids from the bottom of the pan. Let the ghee sit at room temperature to cool and solidify before placing an air-tight lid on the container. Store in the fridge for 1 year or, out of the fridge for 2-3 months.


