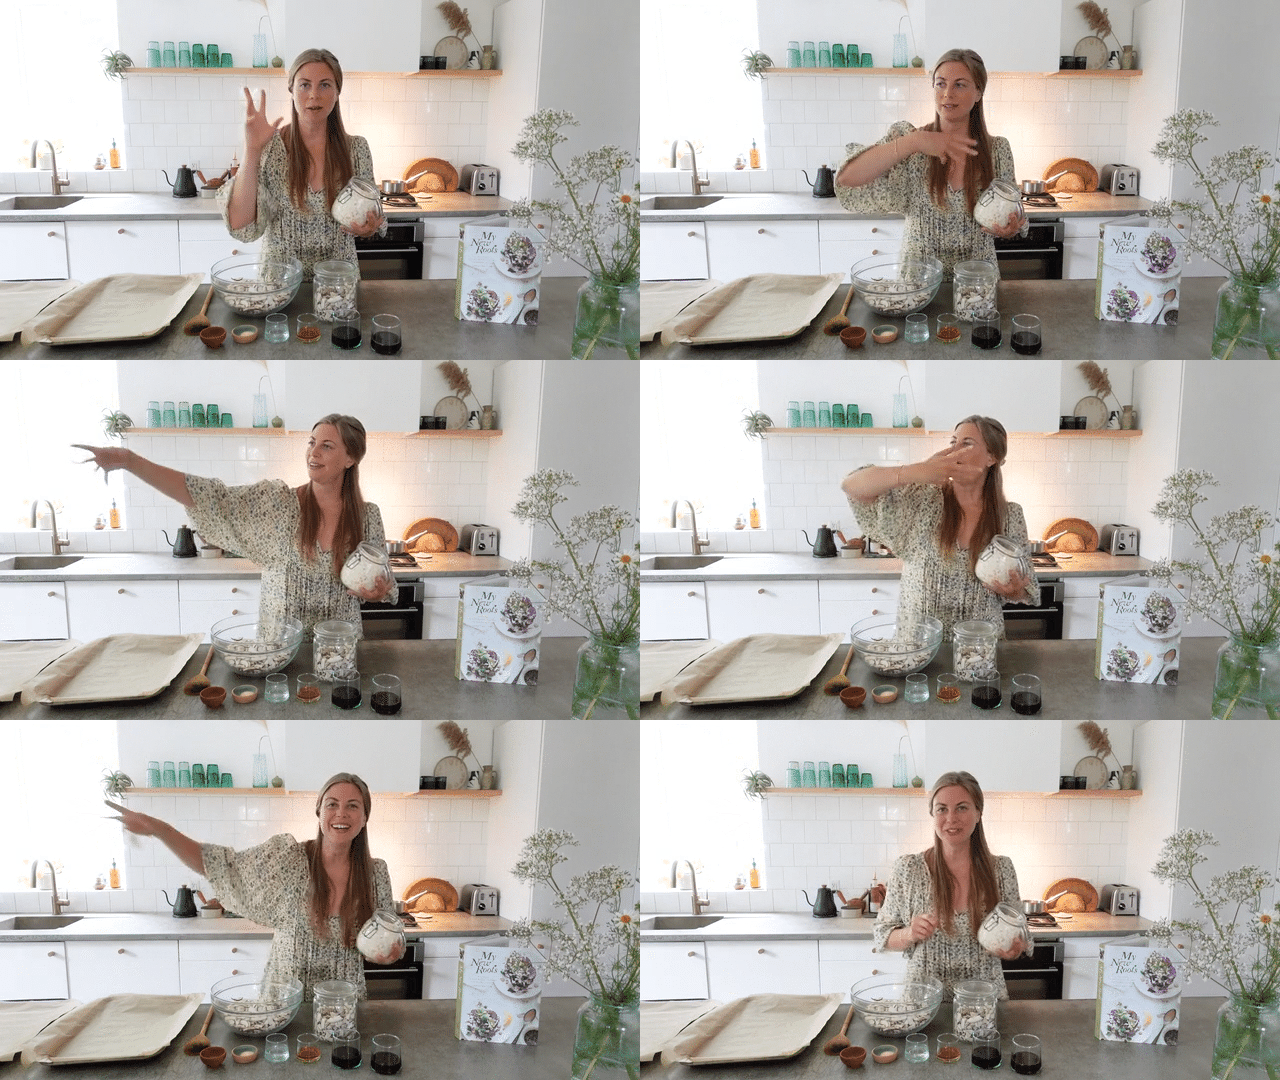
Empower yourself to make your own kombucha saving money and allowing you to deeply connect with your food in new way. I will show you how simple this 7-10 day process really is, requiring only about 20 minutes of your time! For more information about kombucha head to the blog post.

To access the videos and podcasts, please upgrade your membership
Homebrewed Kombucha
Ingredients
- 1 cup / 210g organic evaporated cane juice or raw sugar (you can also use refined white sugar)
- 2 Tbsp. loose black or green tea OR 8 tea bags I prefer green
- 4 quarts / liters water
- 2 cups / 500ml kombucha tea from your last batch or acquired
- 1 SCOBY from your last batch or acquired
- Second fermentation optional:
- 3 cups / 750ml fruit juice of your choice
- OR
- 1 cup chopped fresh or dried fruit
- Optional flavourings:
- fresh or dried fruit
- fresh ginger / ginger juice
- fresh or dried herbs and spices
- honey or maple syrup
- food-grade essential oils
Equipment
- something to brew tea in (very large teapot or stockpot)
- 1 five-quart / five-liter glass jar
- 4 one-quart / one-liter flip-top glass bottles
- tightly woven cloth (a clean tea towel, paper towel, or many layers of cheesecloth)
- rubber band
- wooden spoon
Directions
- Brew the tea. Use unchlorinated / unflouridated water. Bring to the boil and pour over the tea of your choice and let steep for 20-30 minutes (you want it to be very strong). If using a small tea pot, brew two pots and pour brewed tea into your kombucha container.
- Sweeten the tea. Add the 1 cup / 210g of sugar and still well to dissolve.
- Cool the tea. This step is important since the SCOBY does not tolerate heat and has the potential to die if added to hot liquid. To speed up the cooling process, I brew 8 cups / 2 liters of strong tea, then add 8 cups / 2 liters of cold water. This way, it usually takes only an hour or two to reach room temperature.
- Add 2 cups / 500ml pre-made kombucha and the SCOBY. Add the pre-brewed kombucha, which raises the acidity level of the tea. This aids the fermentation process, but also protects the SCOBY from harmful bacteria during the initial fermentation phase. If it is your first time brewing kombucha, simply purchase 2 cups / 500ml of kombucha to add to the cooled tea, along with whatever liquid your SCOBY came with. If you are bottling your own kombucha, simply add 2 cups / 500ml from your last batch. Remove all of your jewelry and wash your hands thoroughly. Gently slip the SCOBY into the tea.
- Cover. Use a piece of fabric that is tightly woven (a clean tea towel works well) or several layers of cheesecloth, secured with a rubber band. You can even use a piece of paper towel or a coffee filter. The point here is to allow air to flow in and out of the brewing container, while keeping pests like fruit flies out – they love this stuff!
- Give your kombucha a home. Place the kombucha container in a place where it will not be disturbed or jostled, out of direct sunlight, but where it will get enough airflow (a small cupboard is therefore not the best place). I leave mine out on the counter where I can keep an eye on it, but I do not move it until day 7 when I start tasting.
- Let ferment for 7-10 days. During the fermentation time, you may see a lot of activity in the brewing container. Bubbles, film-y bits, and the mother SCOBY floating and around and changing positions are all normal occurrences. After a few days you’ll notice the surface of the tea changing and becoming cloudy or opaque-looking. This is the new SCOBY forming and is a great sign that you have a healthy brew on the way!
- The fermentation time depends on a few factors, such as the temperature of the environment (warmer temperatures speed fermentation), but also your preferences. If you like a sweeter kombucha, one week may be enough time. If you like a less sweet, more vinegar-y kombucha then allowing the brew to ferment for 10 days or more may be what you’re into. I recommend tasting the kombucha every day from day 7 onwards and bottle it once it’s reached a taste that you enjoy. It’s totally subjective and totally up to you! That’s one reason it’s so great to brew your own.
- Remove SCOBY and 2 cups / 500ml kombucha. Once your kombucha tea tastes just the way you want it to, prepare to bottle it. Take off all your jewelry and wash your hand thoroughly. Remove the SCOBY
- Bottle kombucha and repeat the process. I like to pour the kombucha tea from the large brewing jar into a container with a spout to avoid spills. You can also use a funnel for this process. Seal the bottles and place in the fridge.
- And now it’s time to brew a fresh batch! Start up at step 1 and complete the cycle. Now you’re a kombucha brewer!
- Second fermentation – optional. If you want to carry out the second fermentation, divide the juice or fruit among the bottles first, then add the brewed kombucha on top. Seal the bottles and let at room temperature for 2-3 days until it is carbonated to your liking, then store in the fridge. Very important: remember to release the pressure in the bottles every day that they sit at room temperature – this is called burping – open the lid briefly to let any excess gas out, which will prevent an explosion (I am totally not kidding).
- Enjoy! It’s finally time to enjoy your kombucha! Drink it as is, or flavour it further as you like. I like to add sliced seasonal fruit to my glass before serving, a few slices of ginger, essential oils, superfoods like spirulina or more fresh juice.
Notes
Makes 1 gallon / 4 liters
1. Kombucha survives and thrives on cane sugar. You can use raw cane sugar like I do, instead of bleached white sugar, but both work fine. Honey, maple syrup, coconut sugar etc. and other “healthier alternatives” have very mixed results. I realize it’s hard for any health-conscious person to use sugar, but remember that the SCOBY is fed, not sweetened with sugar.
2. Always use unchlorinated / unflouridated water for brewing the tea.
3. Do not use herbal tea or any tea that contains flavourings or oils, Earl Grey tea for instance. Stick with organic, pure black or green tea leaves / bags.
4. Do not allow the SCOBY to come into contact with metal at any time (remember to remove your jewelry before handling the SCOBY).
5. Wash your hands and your equipment extremely thoroughly every time. Vinegar is better for cleaning than soap as it does not leave any residue that can harm the SCOBY.
6. Keep the critters out! Use very tightly woven fabric to cover your brewing container.
7. The SCOBY is very sensitive to air contaminants, so don’t burn incense or smoke near the brewing container.
8. If mold forms, or if you see any worms / flies in the kombucha or on the SCOBY, toss the entire batch including the SCOBY and start over. Do not be discouraged – it happens!


